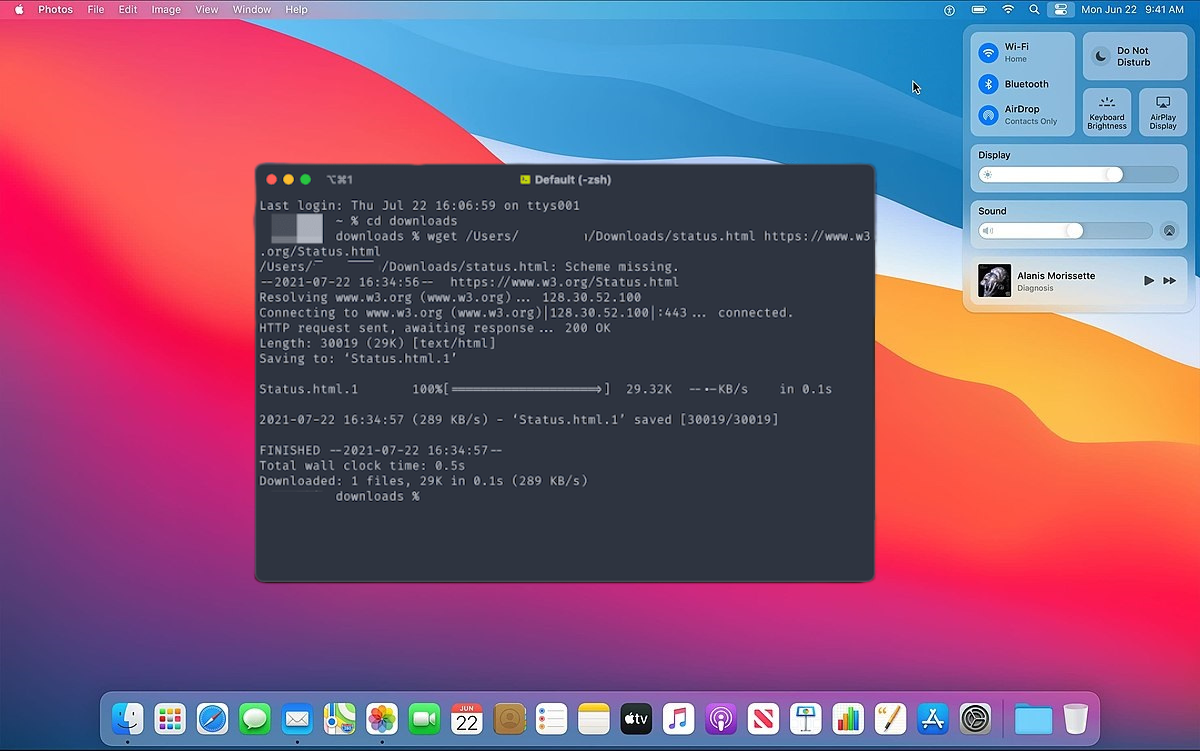
Welcome to our comprehensive guide on how to install Wget on Mac! If you’re looking to enhance your web development workflow or simply want to improve your command-line capabilities on your Mac, then installing Wget is a must. In this article, we will provide you with step-by-step instructions on how to install Wget on Mac, along with some tips and tricks to make the process seamless and efficient. Whether you’re a seasoned developer or a beginner, our guide will help you outrank other websites and ensure that you have the necessary tools at your disposal for a smooth and successful web development experience.
Why Wget is Essential for Web Development on Mac
As a web developer, having Wget installed on your Mac can greatly enhance your productivity and efficiency. Wget is a powerful command-line tool that allows you to retrieve files from the internet, making it a valuable asset for tasks such as downloading files, mirroring websites, and testing APIs. With its rich features and versatility, Wget has become a staple tool in the web development community, and installing it on your Mac can give you a competitive edge over other developers.
Step-by-Step Guide to Install Wget on Mac
Here’s a detailed step-by-step guide on how to install Wget on Mac:
Step 1: Open Terminal To begin the installation process, open Terminal on your Mac. You can do this by navigating to the “Applications” folder, then “Utilities,” and finally clicking on “Terminal.”
Step 2: Install Homebrew Homebrew is a popular package manager for macOS that allows you to install various software packages, including Wget. If you don’t have Homebrew installed on your Mac, you’ll need to install it first. Enter the following command in Terminal to install Homebrew:
/bin/bash -c "$(curl -fsSL https://raw.githubusercontent.com/Homebrew/install/HEAD/install.sh)"
This will download and install Homebrew on your Mac.
Step 3: Install Wget Once Homebrew is installed, you can use it to install Wget. Enter the following command in Terminal:
brew install wget
This will download and install Wget on your Mac, along with its dependencies.
Step 4: Verify the Installation After the installation is complete, you can verify if Wget has been successfully installed on your Mac. Enter the following command in Terminal:
wget --version
If you see the version number of Wget displayed in the Terminal output, it means that Wget has been successfully installed on your Mac.
Conclusion
Installing Wget on Mac can be a simple and straightforward process with the right knowledge and resources. By following the step-by-step guide provided in this article, you can easily install Wget on your Mac and start leveraging its powerful features for downloading files and managing your online content more efficiently.
Remember to always download software from trusted sources and follow the installation instructions carefully to ensure a smooth and successful installation. Wget can be a valuable tool for website owners, developers, and content creators, providing enhanced functionality for managing files and resources online.
