
Portainer is a very lightweight service delivery platform for containerized applications that can be used to manage Docker with beautiful UI. Portainer is UI based service to manage the docker containers it makes life easier for newcomers in this tutorial you will learn how to install Portainer on Raspberry Pi step by step.
Prerequisites
- Raspberry Pi 1, 2, 3 or 4 with a running Raspbian OS
- Docker installed (check out How to Install Docker on Raspberry Pi)
- SSH connection enabled
Also See: How to Install RetroPie on Raspberry Pi
Preparing Raspberry Pi for Portainer Installation
Before we proceed further we need to make sure bi installation is up to date just enter the following command in the terminal:
sudo apt update
sudo apt upgrade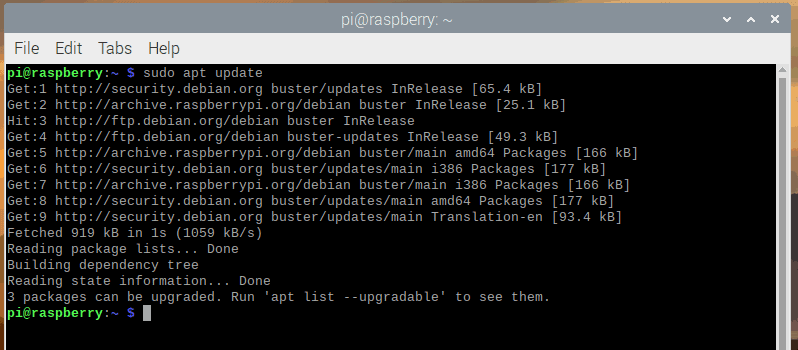
If you already have Docker installed, that will also update the Docker. But if you haven’t installed the Docker follow the step-by-step guide to install Docker to your Raspberry Pi. Now you have successfully installed docker on your Raspberry Pi we will jump to the Portainer installation tutorial.
Installing Portainer on to the Raspberry Pi
The Portainer installation is extremely easy all you need is to copy and paste the following commands in the terminal in the same order:
sudo docker pull portainer/portainer-ce:latest
This command will download the latest docker image to your Raspberry Pi, This will allow us to run it.
Using “:linux-arm” at the end of the pull request, we explicitly ask for it to download the ARM version of the container.
Now enter the following command in terminal
sudo docker run -d -p 9000:9000 --name=portainer --restart=always -v /var/run/docker.sock:/var/run/docker.sock -v portainer_data:/data portainer/portainer-ce:latest
This flag will make sure the Portainer container runs every boot “–restart=always” so you will not have to start the container manually. Port 9000 is where the Portainer web UI will be running.
Also See: How to Install Docker on Linux
Using Portainer’s Web User Interface
All you need to do to access Portainer is to go to the following in your browser.
http://[PIIPADDRESS]:9000If you don’t know the local IP address of your Raspberry Pi enter the following command in the terminal:
hostname -I
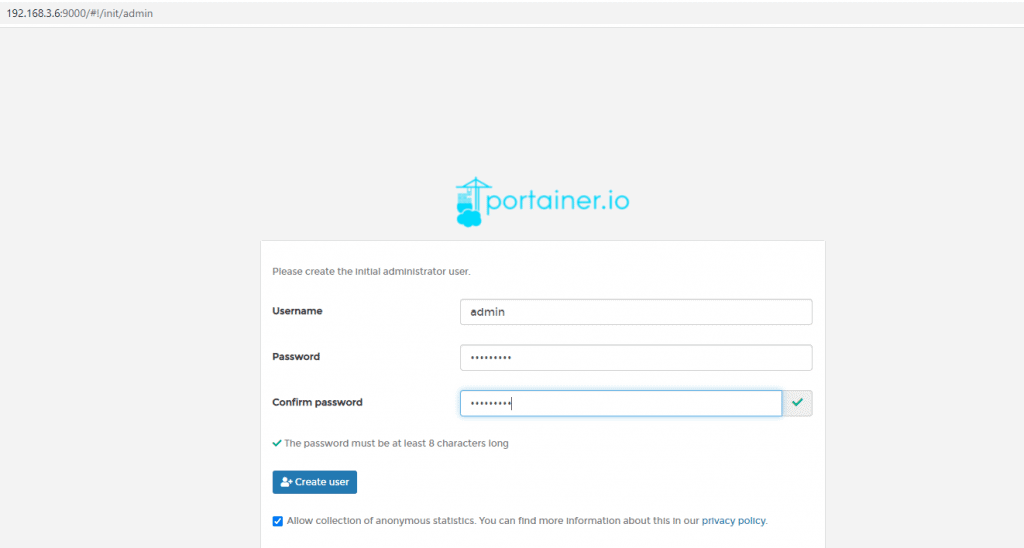
Once you visit the IP address of your Raspberry Pi (http://[PIIPADDRESS]:9000) you will see a Portainer’s Web User Interface, follow on is screen instructions to set up and you are ready to rock now.
Conclusion
Now you have successfully installed Portainer on Raspberry Pi, you can easily manage all the docker containers using web UI. If you are facing any kind of issue do let me know via Twitter @Devenderkg