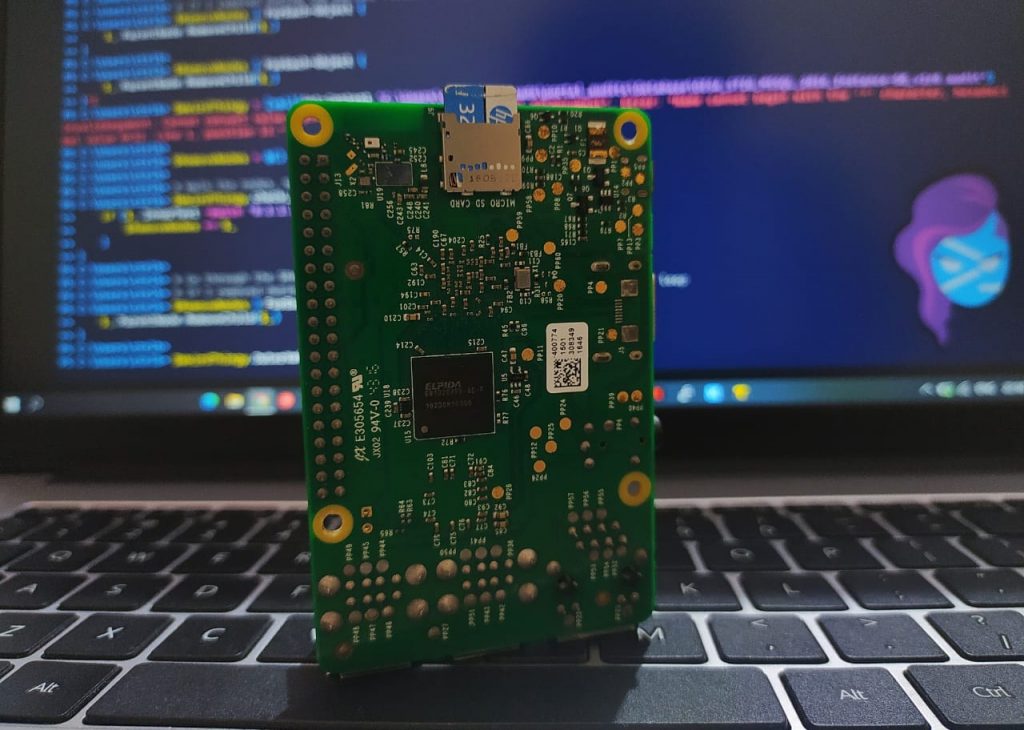
Docker is a very convenient tool for creating, deploying, and running applications in a container. Docker is popular among developers as the development process improves drastically, saves time, and does not use a lot of resources. Docker containers are lightweight and take very few resources compared to virtual machines. That is very important for Raspberry Pi and other single-board computers If you want to install Docker, follow the guide step-by-step on how to install Docker on Raspberry Pi, if you follow all the steps, you will get successful in installing Docker on your Raspberry Pi.
Also See: How to Install RetroPie on Raspberry Pi
How to Install Docker on Raspberry Pi
Prerequisites
- Raspberry Pi 1, 2, 3, or 4 with a running Raspbian OS
- SSH connection enabled

Install Docker on Raspberry Pi
Step 1: Update and Upgrade
Before installing Docker we need to make sure that the Raspberry Pi is running the latest software.
sudo apt-get update && sudo apt-get upgradeStep 2: Download the Script to Install Docker on Raspberry Pi
downloading and running the script is very easy just copy and paste the command in the terminal:
curl -fsSL https://get.docker.com -o get-docker.shTo execute the installation script enter this command:
sudo sh get-docker.shNow you have to wait for the script will install all the required packages in Raspberry Pi.
Step 3: Add a Non-Root User to the Docker Group
By default, only root users can run the docker containers. If you are not logged in as the root you will need to use the sudo prefix every time and it’s not recommended. We can easily skip by adding the non-root user to the Docker group here is how to do that:
sudo usermod -aG docker [user_name]To add the Pi user (the default user in Raspberry Pi OS), use the command:
sudo usermod -aG docker piStep 4: Check Docker Version and Info
Simply to check the version of Docker on your Raspberry Pi enter the following command:
docker versionThe command will output the Docker version along with some additional information. For system-wide information (including the kernel version, number of containers and images, and more extended description) enter:
docker infoStep 5: Run Hello World Container
One of the easiest ways to test whether Docker has been set up correctly is to run the Hello World container. Just type in the following command:
docker run hello-worldIt will contact the Docker daemon, pull the ‘hello-world‘ image, and will create a new container based on the image. Once it goes through all the steps, the output should inform that the Docker installation on Raspberry Pi appears to be working correctly.
Also See: How To Turn Raspberry Pi into WiFi Router
How to Upgrade Docker on Raspberry Pi?
The installation script has added the Docker source in your Raspberry Pi repositories, to upgrade the Docker just run the following command:
sudo apt-get upgradeHow to Uninstall Docker on Your Raspberry Pi?
You took so many steps to install Docker but thankfully the uninstall process is very simple to use the following command:
sudo apt-get purge docker-ceTo delete all the leftover images, containers, volumes, and other related data run the following command:
sudo rm -rf /var/lib/dockerAll the edited configuration files must be deleted manually.
Also See: How to Install Portainer on Raspberry Pi
Conclusion
You are now set to use Docker on your Raspberry Pi, learn a new skill, and develop isolated and lightweight applications using containers. If you have any issues you can reach me on Twitter @Devenderkg
Also See: How to Install Docker on Linux
