
We live in a world of password managers, Face ids, and biometric authentication. We talk about data privacy and internet education but blocking ads and trackers can be very difficult especially when it comes to setting up the ad blocker on all the devices. In this tutorial, we will set up Pi-hole a DNS level ad, and a tracker blocking system.
What is Pi-hole?
The Pi-hole is a DNS sinkhole that protects your devices from unwanted content without installing any client-side software. Pi-hole runs smoothly with minimal hardware and software requirements. It can block content in non-browser locations, such as ad-laden mobile apps and smart TVs.
How to Install and Setup Pi-hole On Raspberry Pi
Pi-hole is free-to-use software and very easy to install all you need is to follow the steps carefully.
Prerequisites
- Raspberry Pi 1, 2, 3, 4 or Pi Zero W with a running Raspbian OS
- SSH connection enabled
- Ethernet Cable
Setup Pi-hole on a Raspberry Pi
To install Pi-hole on a Raspberry Pi we will use the installation script to setup:
1. Update your software repositories, enter the following command in the terminal to update the Pi:
$ sudo apt update
$ sudo apt upgrade -y
2. Install Pi-hole, this command will install the Pi-hone on Raspberry Pi:
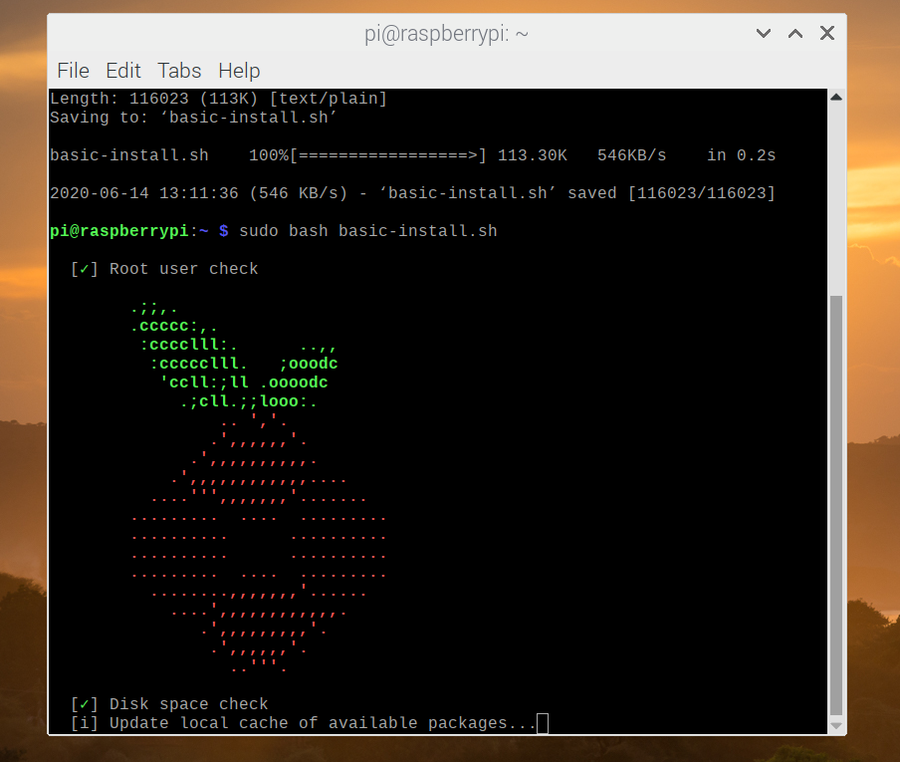
$ curl -sSL https://install.pi-hole.net | bash
The script will start downloading and installing the required software packages, and after that will show a menu for the Pi-hole setup.
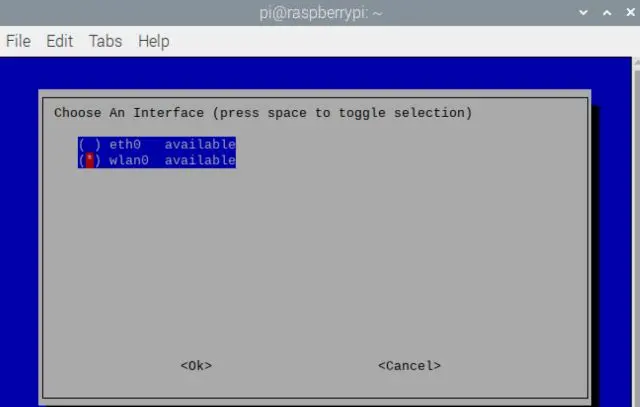
3. Choose eth0 as the interface, as the wireless setup is not reliable.
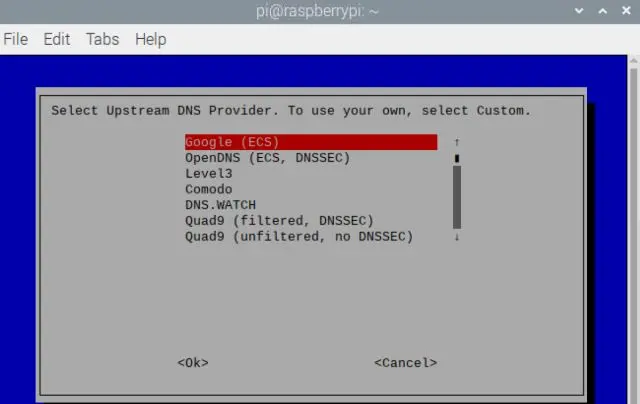
4. Select your upstream DNS provider, In this menu, you need to choose the DNS provider, for this tutorial we are going with Google DNS.
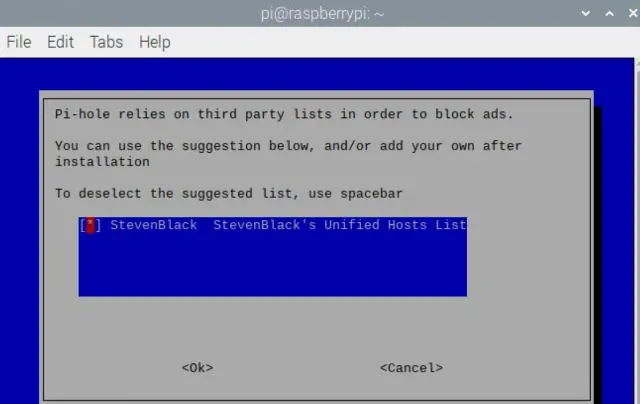
4. Accept the default list of blocked sites by pressing the tab and enter.
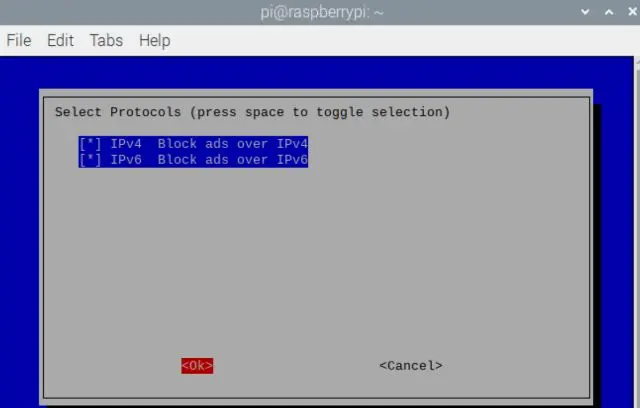
5. Accept the default IPv4 and IPv6 protocols by pressing the tab and enter.
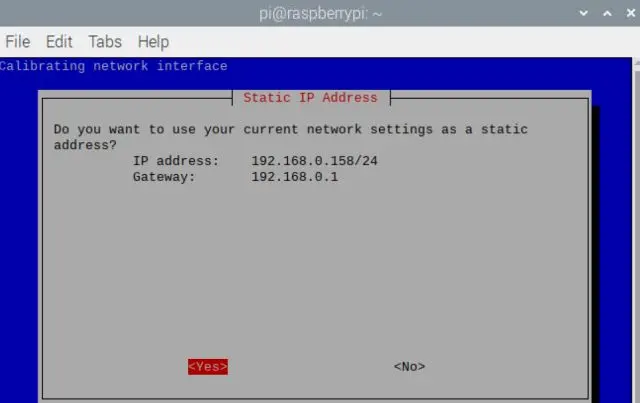
6. Accept the current network settings, and set them as static. (Please note the IP address on the screen we will need to use it later)
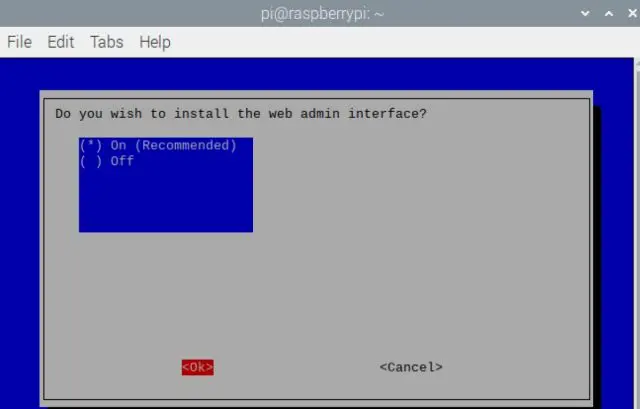
7. Install the web admin interface by pressing the tab and enter, it will help us manage the Pi-hole easily.
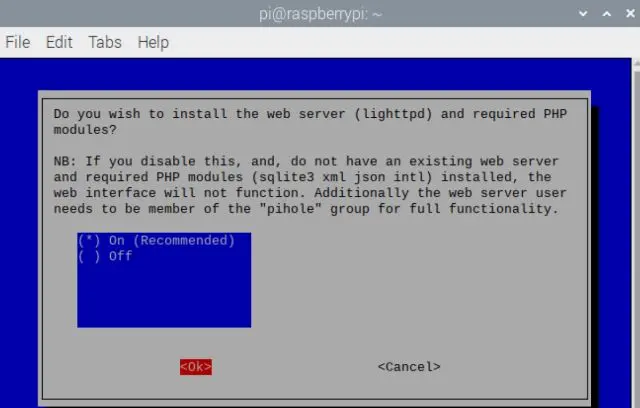
8. Install the lightppd web server used to serve the web admin pages by pressing tab and enter.
9. Accept the default log options
10. Accept the default privacy mode by pressing tab and enter.
The installation is complete and the final page recaps the IP address of the Pi-hole device and provides an admin webpage login password.
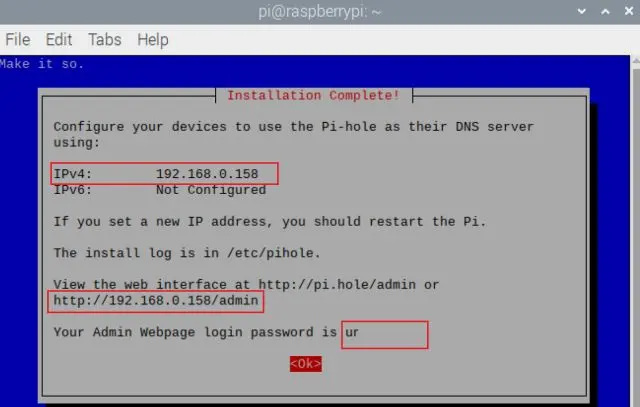
11. Change the web admin password in the terminal, It is recommended not to use the default password.
$ pihole -a -p
Pi-hole is now successfully installed you can open web interface by entering the [IP address]/admin in the browser, it is now necessary to point your devices to this DNS server. The first way of doing this is by configuring each device to use your newly created Pi-hole DNS server. The second option is to configure your wifi router to use your Pi-hole DNS server by default here is how to do the same.
Also Read: How to Install RetroPie on Raspberry Pi
How to Change DNS in Router
Your router interface might be different but the menu and options should be similar:
- Sign in to your router’s web-based administration, usually at the following address:
http://192.168.1.1 - Select Setup in the top menu.
- Select Basic Setup in the Setup submenu.
- In the Static DNS 1 field, enter the primary DNS server you want to use. You need to enter at least one DNS address.
- In the Static DNS 2 field, enter the secondary DNS server you want to use.
- Leave the Static DNS 3 field blank or add a primary DNS server from another provider.
- Select Apply at the bottom of the screen.
How to Change Your DNS Server on a Windows 11/10
To change your DNS server on a Windows 10 computer, go to Settings > Network & Internet > Change Adapter Settings. Then right-click a connection and select Properties > IPv4 > Properties. Finally, select Use the following DNS server address and enter the Pi-hole IP address.
How to Change Your DNS Server on a Mac
To change your DNS server on a Mac, go to System Preferences > Network. Then select a connection and click Advanced. Next, select the DNS tab and click the plus sign. Finally, enter the Pi-hole DNS address and click OK > Apply.
How to Change Your DNS Server on an Android
To change your DNS server, head to Settings > Wi-Fi, long-press the network you’re connected to, and tap “Modify Network”. To change DNS settings, tap the “IP settings” box and change it to “Static” instead of the default DHCP. Depending on your device, you may need to check an “Advanced” box to see this setting. Leave the IP server setting here alone, as this is automatically acquired from the DHCP server. Enter your Pi-hole DNS in primary and secondary DNS servers in the “DNS 1” and “DNS 2” settings and then save your settings.
Also Read: How to update pihole?
FAQs
Can setting up a pi-hole speed up your internet?
Technically, yes but Pi-hole has no effect on your internet bandwidth speed. Blocking ads on web pages make it feel as if it’s loading faster.
Will Pi-hole run automatically when I reboot Raspberry Pi?
Yes, Pi-hole run automatically when you reboot Raspberry Pi If you set up Pi-Hole with a regular automated setup.