
Docker has become a popular tool among developers and DevOps teams for its ability to simplify the deployment of applications in containers. If you’re a macOS user and want to harness the power of Docker for your development workflow, you’re in luck! In this comprehensive guide, we will walk you through the step-by-step process of installing Docker on macOS, so you can start leveraging its benefits for your projects.
How to Install Docker on macOS
Docker runs on both Mac with intel chip as well as Mac with Apple M1 Chip (Apple silicon). The Docker runs natively on Mac and is easy to install follow the steps carefully:
Checking System Requirements
Before diving into the installation process, it’s crucial to ensure that your macOS system meets the minimum requirements for Docker.
- 2010 or newer, with Intel’s hardware Memory Management Unit (MMU) or Apple M1 Chip
- macOS 10.15 or newer (Catalina, Big Sur, or Monterey)
- At least 4 GB of RAM
- You must not have a VirtualBox installation earlier than version 4.3.30 on your system. If you do, you’ll need to uninstall it.
Docker Desktop macOS Installation
Once the Docker Desktop installer is downloaded, locate the installer package in your Downloads folder and double-click on it to start the installation process. Follow the on-screen instructions to complete the installation. During the installation, Docker Desktop may prompt you to authorize certain system changes, such as enabling virtualization or installing additional components. Make sure to grant the necessary permissions to ensure a successful installation.
1. Download Docker. (Mac with Intel chip, Mac with Apple silicon)
2. Open Terminal and run the command softwareupdate –install-rosetta (Only for Mac with Apple silicon)
3. once you have downloaded the docker desktop double-click the DMG file, and drag-and-drop Docker into your Applications folder.
4. Now you need to authorize the installation with your macOS password
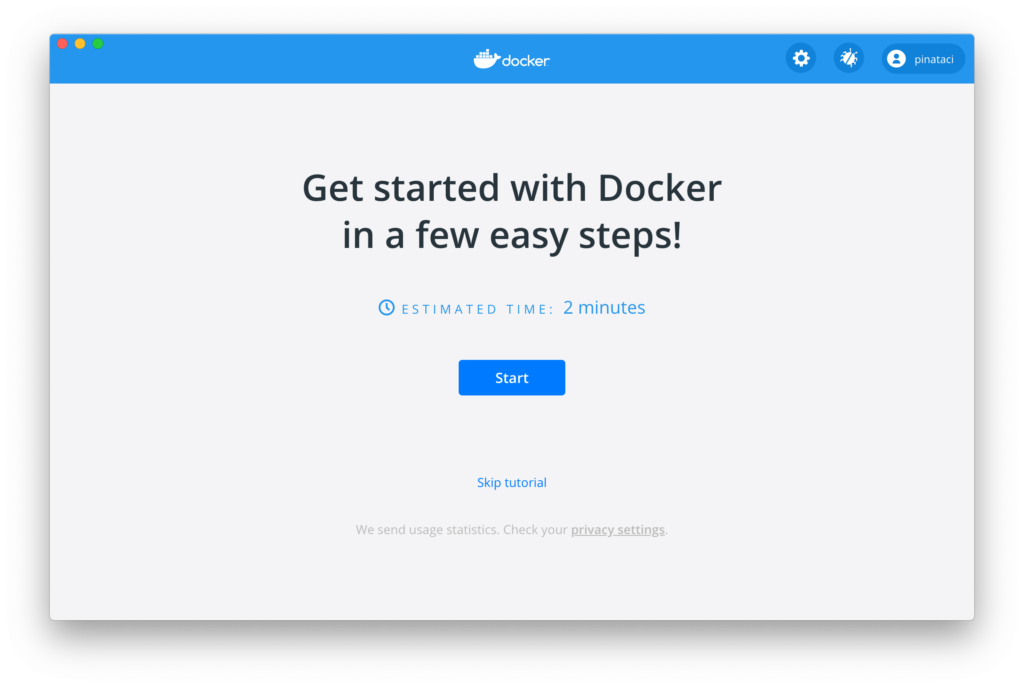
5. Double-click Docker.app to start Docker on macOS.
6. The whale in your status bar indicates Docker is running
Also See: How to Install Docker on Linux
Verification
Once Docker Desktop is installed and configured, you can verify that Docker is running correctly on your macOS system. Open a terminal window and run the following command:
1. Open Terminal
2. Run the following command:
- docker –version
- docker-compose –version
- docker-machine –version
If Docker is installed correctly, you should see the version number of Docker displayed in the terminal output. This confirms that Docker is up and running on your macOS system.
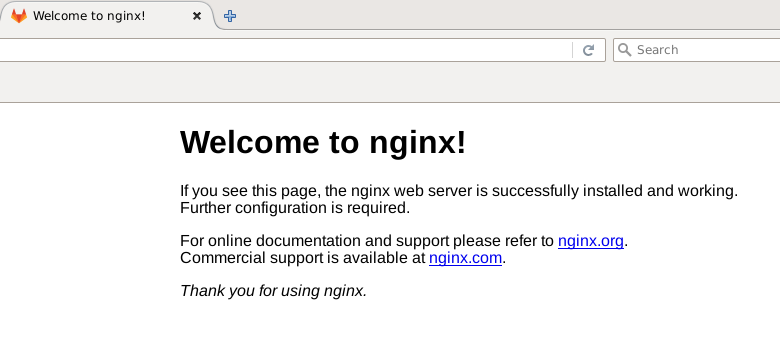
3. docker run -d -p 80:80 –name webserver nginx (This command will run a dockerized web server)
4. Visit http://localhost
Conclusion:
In conclusion, Docker is a powerful tool that can greatly streamline your development workflow by allowing you to run applications in containers. With Docker Desktop, installing Docker on macOS is a straightforward process that can be completed