

Chromebooks, with their seamless integration of Google Docs, are fantastic for productivity. Whether you’re drafting notes, creating a report, or outlining your next big project, lists are often at the heart of it. But a plain list can be, well, a bit bland. Bullet points transform your text, making key information scannable, digestible, and far more engaging for your readers. They visually break up content, guiding the eye and highlighting crucial takeaways.
So, how do you master bullet points in Google Docs on your Chromebook? Let’s explore a few straightforward techniques that will have you organizing your thoughts like a pro.
1. The Classic Toolbar Click: Your Go-To Method
This is often the most intuitive way to start a bulleted or numbered list.
- Open your document in Google Docs on your Chromebook.
- Place your cursor where you want your list to begin.
- Look for the Bulleted list icon (usually three dots or lines stacked vertically) or the Numbered list icon (lines with 1, 2, 3) in the Google Docs toolbar.
- Click the desired icon, and your first bullet or number will appear. Type your item and press Enter to create the next one.
- To end the list, press Enter twice.
It’s that simple!
2. Smart Auto-Formatting: Let Google Docs Do the Work
Google Docs is pretty clever. You can often trigger bullet points automatically using common keyboard characters. This is my personal favorite for speed.
- For bullet points: Type an asterisk (*), a hyphen (-), or a plus sign (+) followed by a space, then start typing your list item. Google Docs will often convert it into a proper bullet point when you press Enter.
- Example: * My first item (then press Space)
- For numbered lists: Type a number followed by a period (e.g., 1.) and a space, then your text.
- Example: 1. My first step (then press Space)
This method feels incredibly natural once you get the hang of it.
3. Keyboard Shortcuts: The Power User’s Choice
For those who love keeping their hands on the keyboard, shortcuts are king.
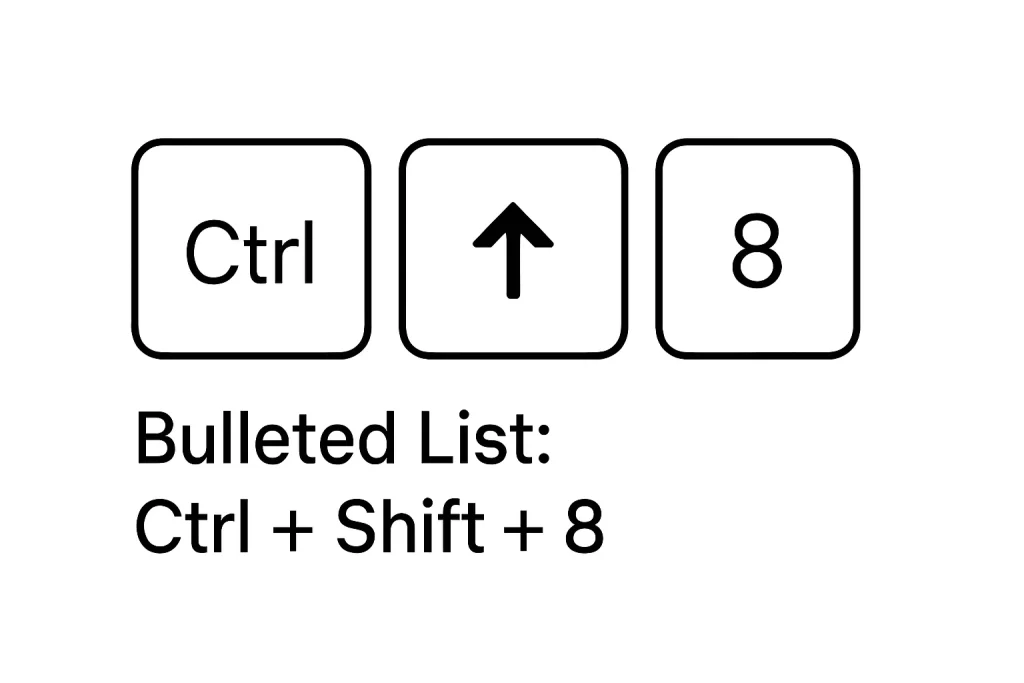
- Bulleted List: Press Ctrl + Shift + 8
- Numbered List: Press Ctrl + Shift + 7
Place your cursor where you want the list to start (or select existing lines of text you want to convert), use the shortcut, and you’re good to go.
4. Customizing Your Lists: Adding a Personal Touch
Standard bullets are fine, but sometimes you want something a bit different, or you need to adjust your list’s appearance.
- Changing Bullet Style or Numbering Format:
- Click on an existing bullet or number in your list. This will select all bullets/numbers at that level.
- You’ll see a small dropdown arrow appear next to the selected bullet/number, or you can right-click. Alternatively, go to Format > Bullets & numbering.
- Choose from the predefined styles. For even more options, select “List options” (sometimes “More bullets…”) to pick custom symbols, characters (even emojis!), or adjust numbering schemes.
- Changing List Color:
- Click on a bullet or number to select them.
- In the toolbar, click the Text color icon (it looks like an ‘A’ with an underline).
- Pick your desired color. This changes the color of the bullet or number itself, not the text of the list item.
- Indenting and Outdenting (Creating Sub-Lists):
- To create a sub-list (indent an item), place your cursor at the beginning of the list item and press the Tab key.
- To move an item back to the main list level (outdent), press Shift + Tab. You can also press Enter twice on a new, empty indented bullet to return to the previous list level.
- Restarting or Continuing Numbering:
- To restart a numbered list: Right-click on the number where you want the list to restart (e.g., if it’s showing ‘3’ but you want it to be ‘1’). Select “Restart numbering” and optionally enter a new starting number.
- To continue a previous numbered list: If you have a break in your numbered list and want it to continue the sequence from an earlier list, right-click the number and choose “Continue previous numbering.”
Pro-Tip: Works in Google Slides Too!
These techniques aren’t just for Google Docs. You’ll find that many of these methods for creating and customizing bullet points work just as effectively when you’re building presentations in Google Slides on your Chromebook.
Wrapping Up
Bullet points are a small feature with a big impact. By using these simple methods—toolbar clicks, auto-formatting, keyboard shortcuts, and customization options—you can significantly enhance the clarity and professionalism of your documents in Google Docs on your Chromebook. They make information easier to scan, understand, and remember.
So go ahead, give these a try in your next document. You’ll find your lists looking sharper and your ideas more organized in no time!